
Starting your garden plants from seed is one of the most rewarding gardening projects you can take on. From the first time they pop their little green heads above the soil, to harvesting beautiful flowers or delicious veggies, it’s amazing to know that you raised them from day one. If you’ve never started your own seedlings before, this is the year to start! It’s easier than you think, and with a few handy tips and the right equipment, you can get a head start on your garden this season!
Here is a handy guide for starting seeds in North Carolina.
Seed Starting Essentials
Seed starting mix particles are finer than regular potting soil and many people prefer the texture of the seed starting mix. I find that as long as I’m using a potting soil mix with peat and pine bark fines, it works well. A potting soil mix with only pine bark fines stays a little drier than I prefer.
Seedling starter pots come in a variety of different styles and sizes. Generally, they’re 2-3″ deep pots made from thin plastic with a few small drainage holes. This makes it easy to transplant into bigger containers later. You can also repurpose small plastic containers from the kitchen and punch a few drainage holes in the bottoms. Depending on what you’re growing, you can also use individual starting pods or peat pellets. You can rehydrate the peat pellets with water and sow your seeds straight into the peat. Later, when you’re ready to transplant your seedlings to the garden, the whole pod goes straight into the soil.
Clear plastic tray covers or plastic wrap are helpful in germinating seeds. The clear plastic keeps the environment near the seeds humid. Once seeds have sprouted, plastic covers should be removed to allow air circulation. Without air movement, damping-off disease can be a problem for young, tender seedlings. It is important to note that clear covers should not be used in direct sunlight—the greenhouse effect heats the inside quickly and will kill seedlings. Think about how hot it gets in your car on a sunny day; that’s what happens under a plastic cover!
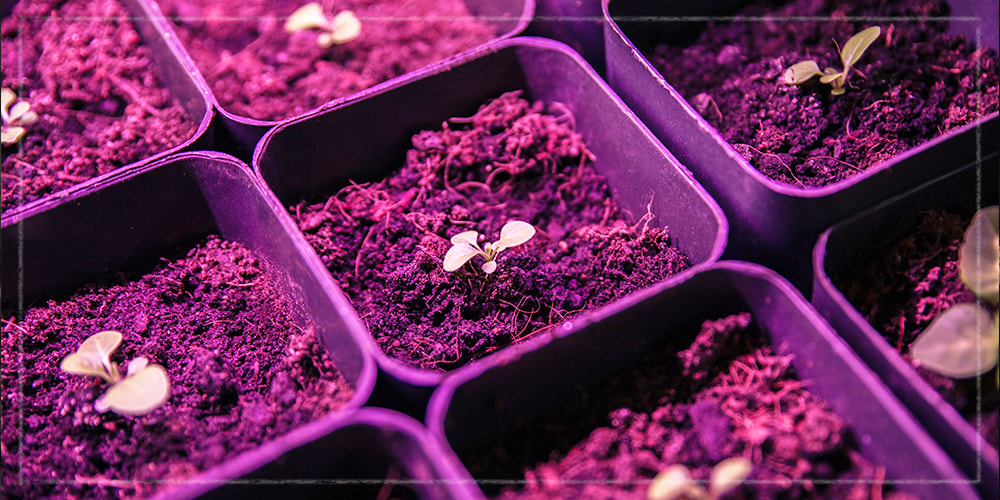
The right light is crucial when starting plants indoors during the shorter days of the year. Once they’ve sprouted, your plants need consistent bright light for 8-12 hours per day. If you don’t have enough direct sunlight, you can use grow lights. Grow lights should be reasonably close to the plants, but not close enough to make contact between the bulb and plant material. When your seeds are just starting to sprout, your light should be just above the top of your tray covers. As they grow, you’ll want to keep the light an inch or two above the leaves. If the light is too far from your plants, they will start to get “leggy” and visibly weaker.
The right temperature is also required for seed germination. It’s like having the right key to unlock your front door. Cool-season vegetable seeds normally have low soil temperature requirements. Around 55˚F is sufficient for them, so normal room temperature accomplishes this. Many hot-season vegetables require warmer soil temperatures to get going. For example, peppers need a 75˚F soil temperature to germinate well. In this case, you will need a heat mat to get soil temperatures up this high.
Staggering Your Seeds
Naturally, good-quality seeds are essential for starting your own plants indoors. It’s totally up to you what you’d like to start, but some of the easiest ones to start with are tomatoes, marigolds, lettuces, and kales. Some varieties need to get started earlier in the year than others, so it’s important to make a note of when to plant each resident in your indoor nursery.
Cool-season veggies and herbs like parsley, cilantro, broccoli, spinach, and lettuce should be started in early January for transplanting out in mid-February.
Hot season plants, like tomatoes, peppers, eggplant, basil, begonias, and impatiens should be started in mid-February for transplanting outside in mid-April or later.
Starting Your Seeds
Seeds can be tiny, so it’s easiest to start with damp soil since watering can wash them around in the tray.
Fill your pots with damp starter soil, or pour water on dehydrated peat pellets. Water thoroughly to tamp the soil and make the surface even and firm. Leave about 1/2″ to 1″ of room between the soil and the top of the container.
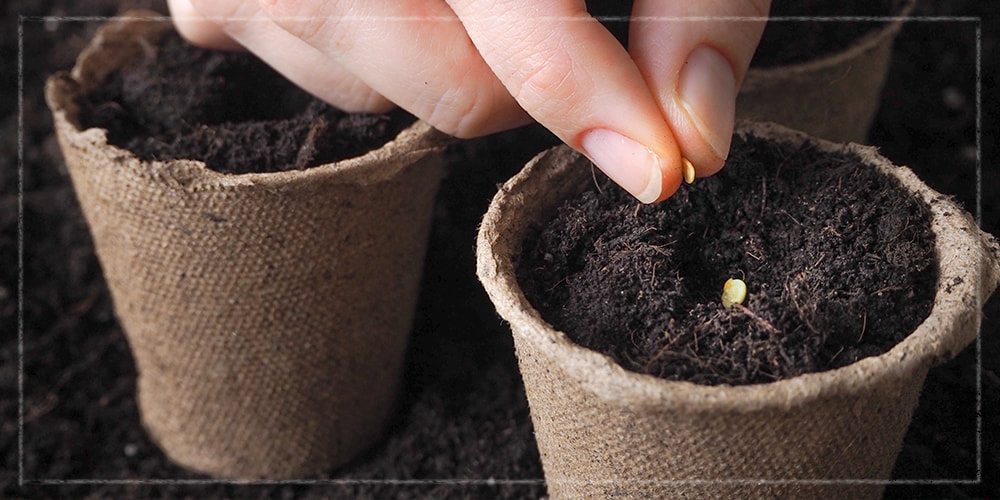
Read your seed packages carefully and spread the seeds evenly in the starter pot. If your seeds need to be buried under the soil, add a thin layer of potting soil over the top. Mist any soil added on top of seeds to moisten lightly with a spray bottle.
Then, place your clear covers over the tray and wait. If you started with moist soil and you have covers, you shouldn’t need to water again until your plants begin sprouting, but keep an eye on the soil anyhow. If your soil seems to be getting dry, use a spray bottle to mist on enough water to thoroughly moisten the soil. The gentle mist from the spray bottle will help moisten the soil while keeping un-sprouted seeds in place.
That’s it; your seeds have been sown for your garden this year! Now, you only have to endure the waiting game. We check our trays for sprouts every day because it’s so exciting to watch them start to pop up!
Think you can handle it? (Hint: you definitely can!) If you have any questions, call us or come by our nursery to see how we do it.